Ever notice how some people look effortlessly stylish—even in the simplest outfits—while others wear great clothes but still feel unfinished?
The difference usually comes down to one powerful styling rule:
👉 The Third Piece Rule
Once you master it, your outfits instantly look more intentional, more polished, and more expensive—without buying anything new.
Let’s break it down.
What Is the Third Piece Rule?
The third piece rule is a simple but transformative styling concept:
An outfit isn’t complete with just a top and a bottom.
Add a third item, and the look comes alive.
Your top and bottom form the foundation.
The third piece is what adds depth, structure, and personality.
Think of it as the finishing touch that turns clothes into style.
Why the Third Piece Instantly Elevates Any Outfit
Without a third piece, outfits often feel:
- Flat
- Basic
- Unfinished
The third piece changes that by adding:
✔ Visual Balance
It breaks up the outfit and creates a more interesting silhouette.
✔ Dimension
Layers, texture, and contrast make an outfit feel styled—not accidental.
✔ Intentionality
It sends a subtle message: this look was thought through.
That’s why fashion editors, stylists, and influencers rely on this rule daily.
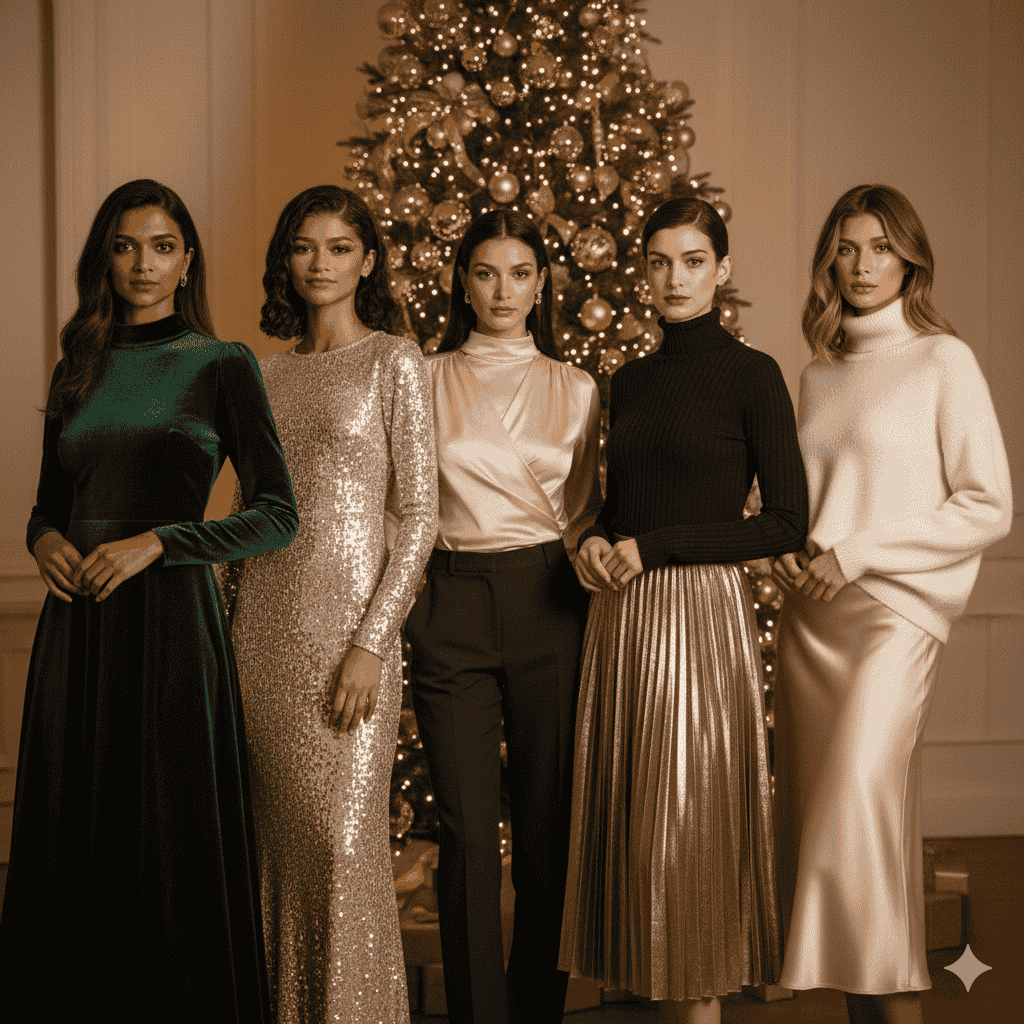
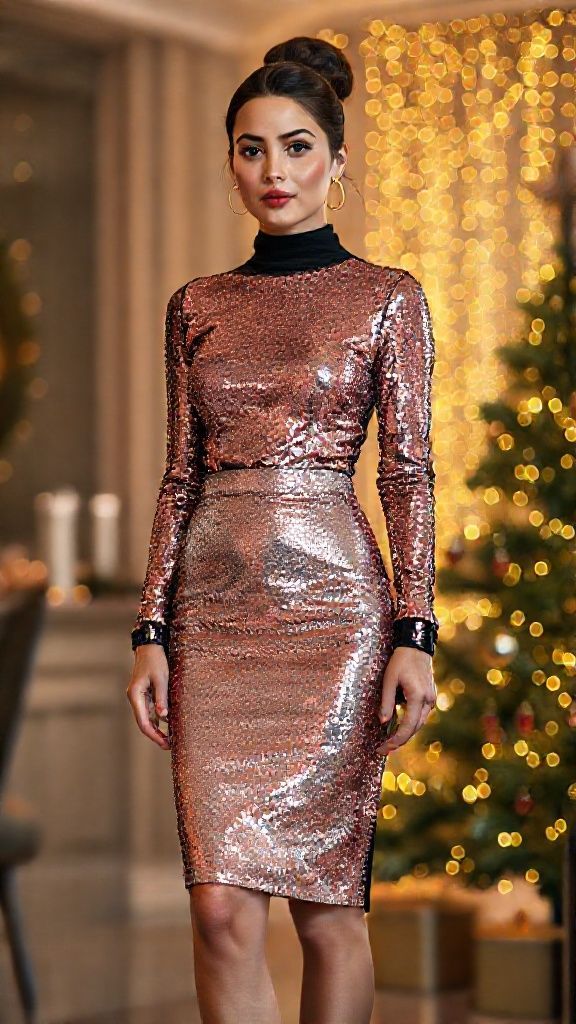
Examples of Powerful Third Pieces
A third piece doesn’t have to be dramatic. It just needs to be intentional.
Here are some go-to options that work across styles and seasons:
- Blazers – Instantly polished, from casual to professional
- Denim jackets – Relaxed, timeless, and versatile
- Leather or faux leather jackets – Adds edge and structure
- Scarves or dupattas – Color, elegance, and movement
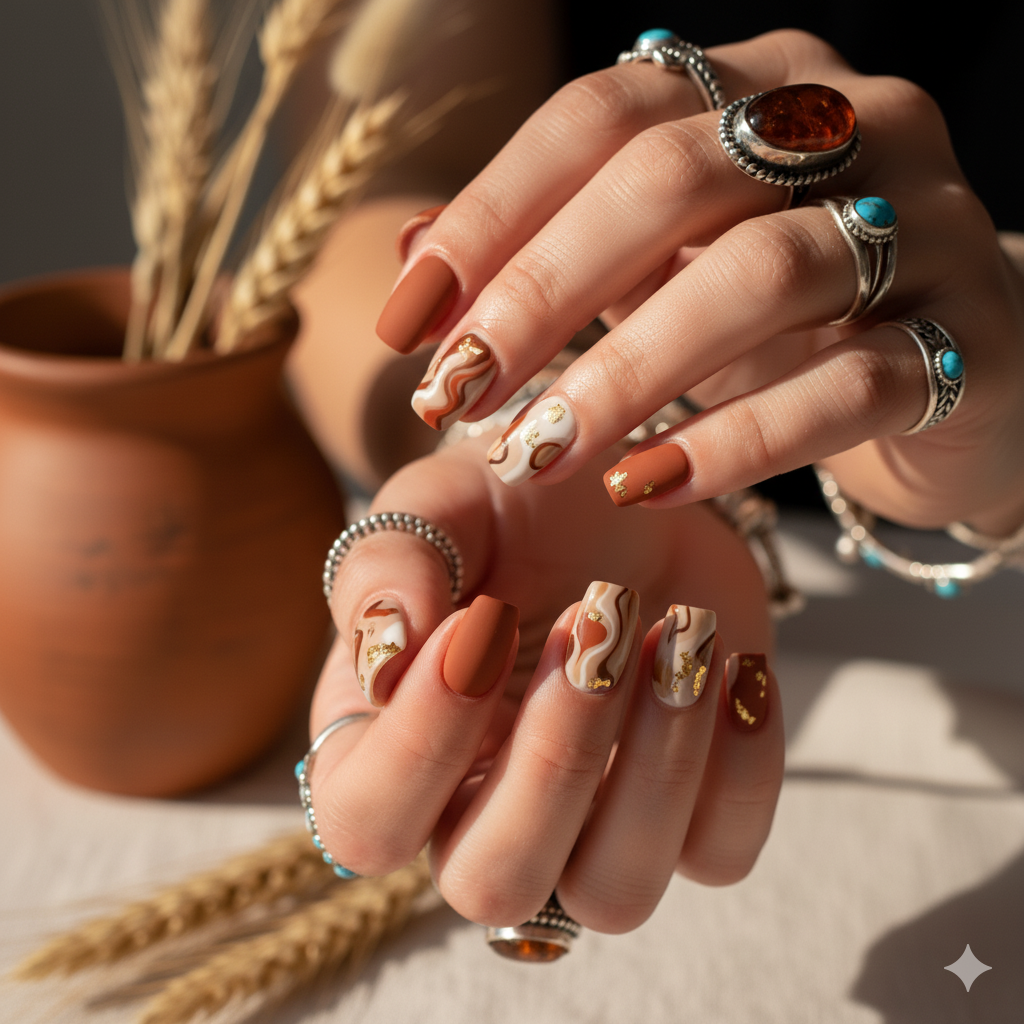
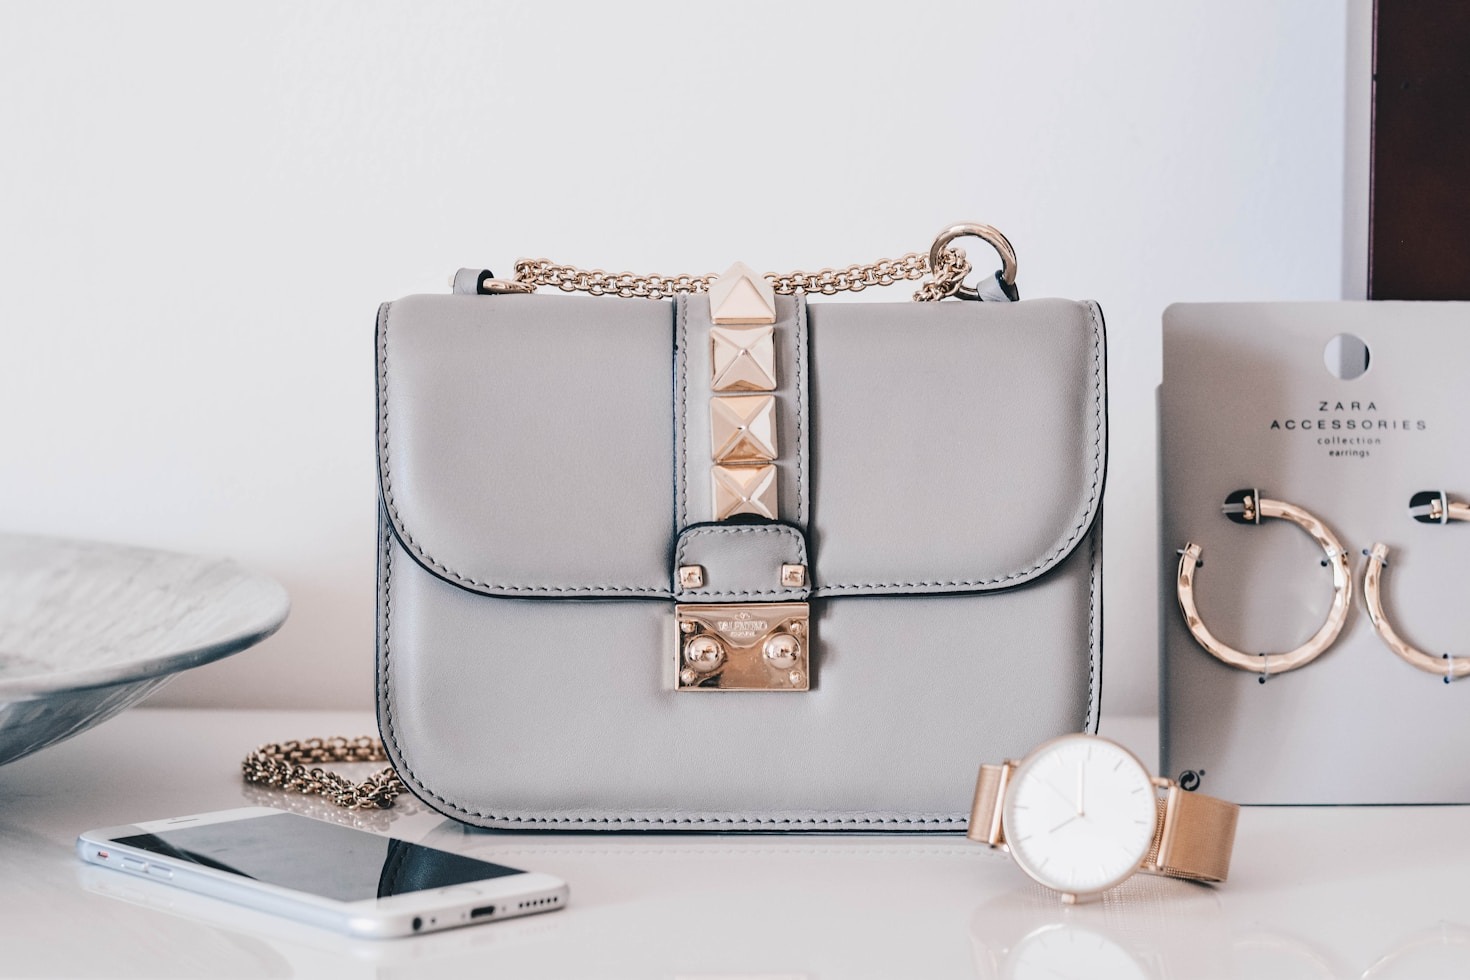
- Statement jewelry – Necklaces, earrings, bangles
- Belts – Defines the waist and sharpens the look
- Vests or waistcoats – Modern, layered, and chic
- Structured bags – Elevates even the simplest outfit
The key isn’t adding more.
It’s adding the right one thing.
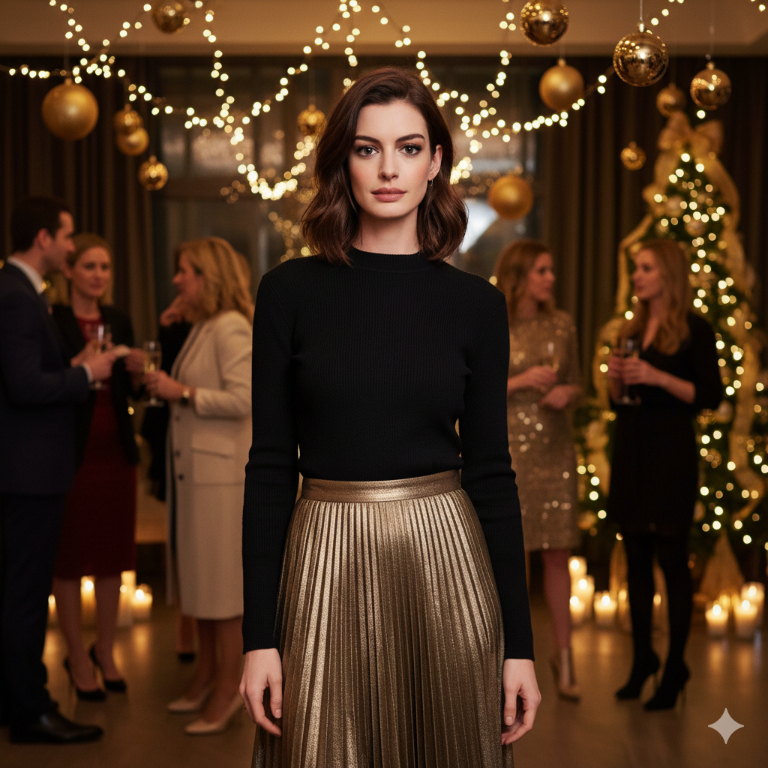
The Third Piece Rule in Everyday Outfits
Let’s make this practical.
Outfit without a third piece:
- T-shirt + jeans
Nice, but forgettable.
Outfit with a third piece:
- T-shirt + jeans + blazer
Now it looks styled.
Another example:
- Kurta + trousers → simple
- Kurta + trousers + dupatta or belt → elevated
Same clothes.
Completely different impact.
A Styling Trick That Works in Every Season
🌞 Summer
Light third pieces work best:
- Open linen shirts
- Lightweight scarves
- Statement sunglasses
- Bold jewelry
🍂 Fall
The easiest season to master:
- Blazers
- Shackets
- Light jackets
- Boots as a styling anchor
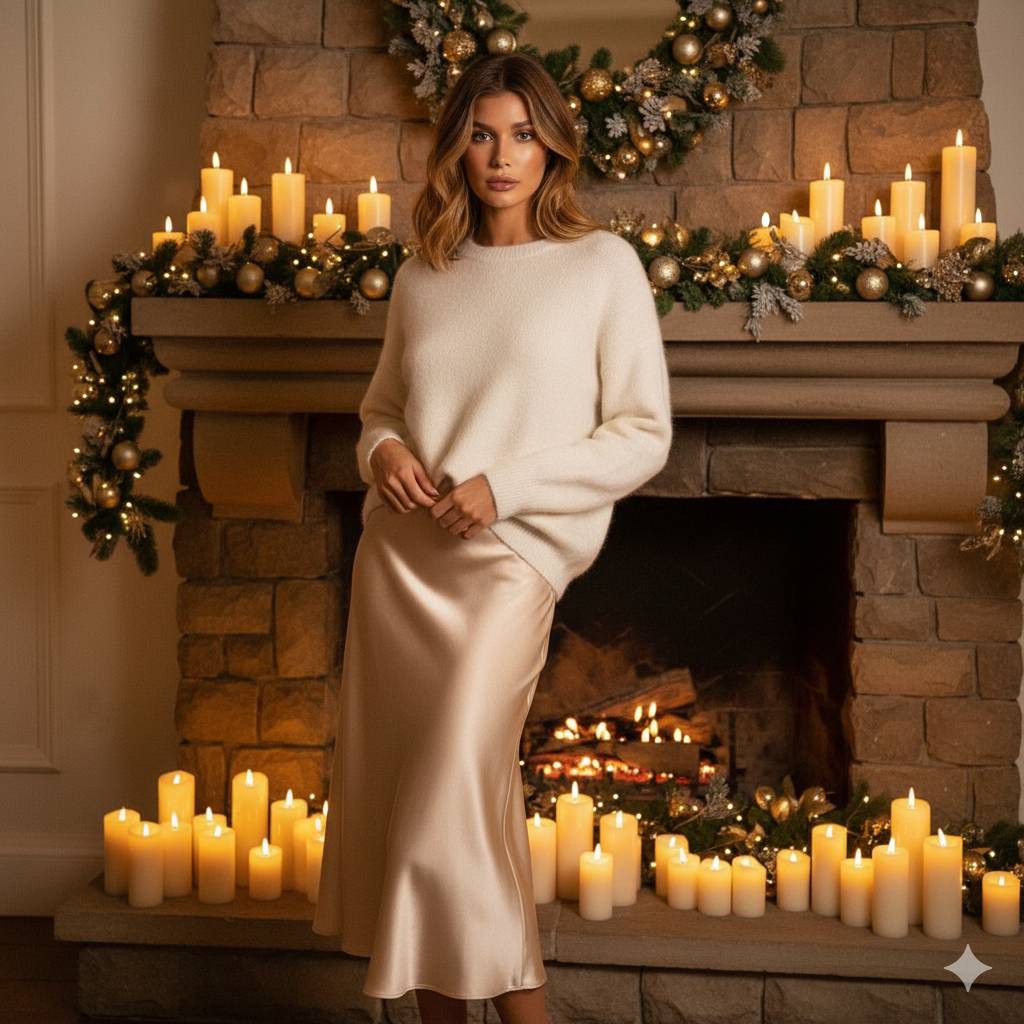
❄ Winter
Your third piece becomes your hero:
- Coats
- Cardigans
- Scarves
- Structured layers
🌸 Spring
Mix textures and soft layers:
- Denim jackets
- Vests
- Colorful accessories
No matter the weather, the third piece adapts.
The Biggest Styling Mistake Most People Make
The most common mistake?
“I’m wearing good clothes—this should be enough.”
Good clothes don’t guarantee good style.
Style comes from how pieces work together, and the third piece is what connects the entire look.
Without it, outfits often feel incomplete—even if each item is beautiful on its own.
How to Start Using the Third Piece Today
Before you leave the house, ask yourself one simple question:
“What’s my third piece?”
That’s it.
You don’t need:
- A new wardrobe
- Trendy clothes
- Expensive brands
You just need one intentional addition.
Why the Third Piece Makes You Look More Confident
Style affects confidence more than we realize.
When an outfit feels complete:
- You stand taller
- You move differently
- You feel more put-together
The third piece doesn’t just change how others see you—it changes how you see yourself.
Final Thoughts: Style Smarter, Not Harder
Fashion isn’t about owning more clothes.
It’s about using what you already have more intentionally.
The third piece rule is:
- Simple
- Timeless
- Seasonless
Once you master it, you’ll never feel “underdressed” again.
Top. Bottom. Third piece.
That’s the formula—and it works every single time.